
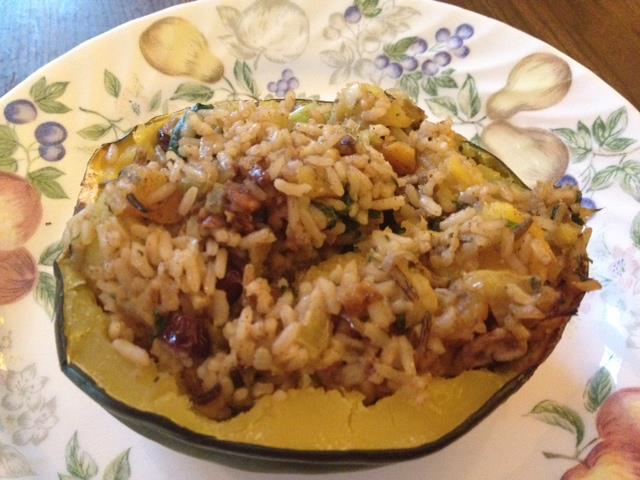
Stuffed Acorn Squash
Print

Stuffed Acorn Squash
Description
Stuffed Acorn Squash
Ingredients
Scale
- 4 acorn squash, halved lengthwise; seeds and membrane removed
- 1 cup brown rice
- 1/2 cup wild rice
- 4 cups vegetable broth
- 1/4 teaspoon sea salt
- 1 TBSP olive oil
- 1 medium onion, chopped
- 3/4 cup diced celery
- 1/2 bag of baby spinach chopped
- 1/2 cup pecans, coarsely chopped
- 1/2 cup dried apricots, diced
- 1/2 cup dried cranberries
- 1/2 teaspoon sea salt
- 2–1/2 teaspoon ground ginger
- 1/8 teaspoon each ground black pepper
- 1/8 teaspoon ground cardamom
- 1/8 teaspoon ground cloves
- 1 teaspoon ground cinnamon
Instructions
- 1. Preheat oven to 375º F.
- 2. Cook both varieties of rice together in broth or water with ¼ teaspoon of salt (omit salt if broth is already salted).
- 3. Meanwhile, place squash halves, cut side down, into a large shallow baking dish or cookie sheet (you may need two) on parchment paper. Bake for 30 minutes.
- 4. In a skillet, sauté onion in olive oil until it becomes transparent. Add the celery and sauté a couple of minutes. Remove from heat. Using a large mixing bowl, blend this mixture together with the cooked rice, cranberries, nuts, apricots, spinach, and remaining seasonings.
- 5. Take out the squash after 30 minutes and give it time to cool. Take a melon baller and scoop out the squash and place into the the large mixing bowl and stir it up. Don’t over scrape the squash.
- 6. Press the rice mixture into each squash cavity, mounding rice as much as possible.
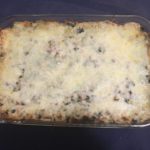
- (Most likely you will end up with leftover rice mixture which you can place in a separate pan to cook.)
- 7. Cover with aluminum foil and bake for 30 minutes or until squash flesh is thoroughly tender.
Notes
- You can keep the seeds and bake them for later.


Leave a Reply
Want to join the discussion?Feel free to contribute!