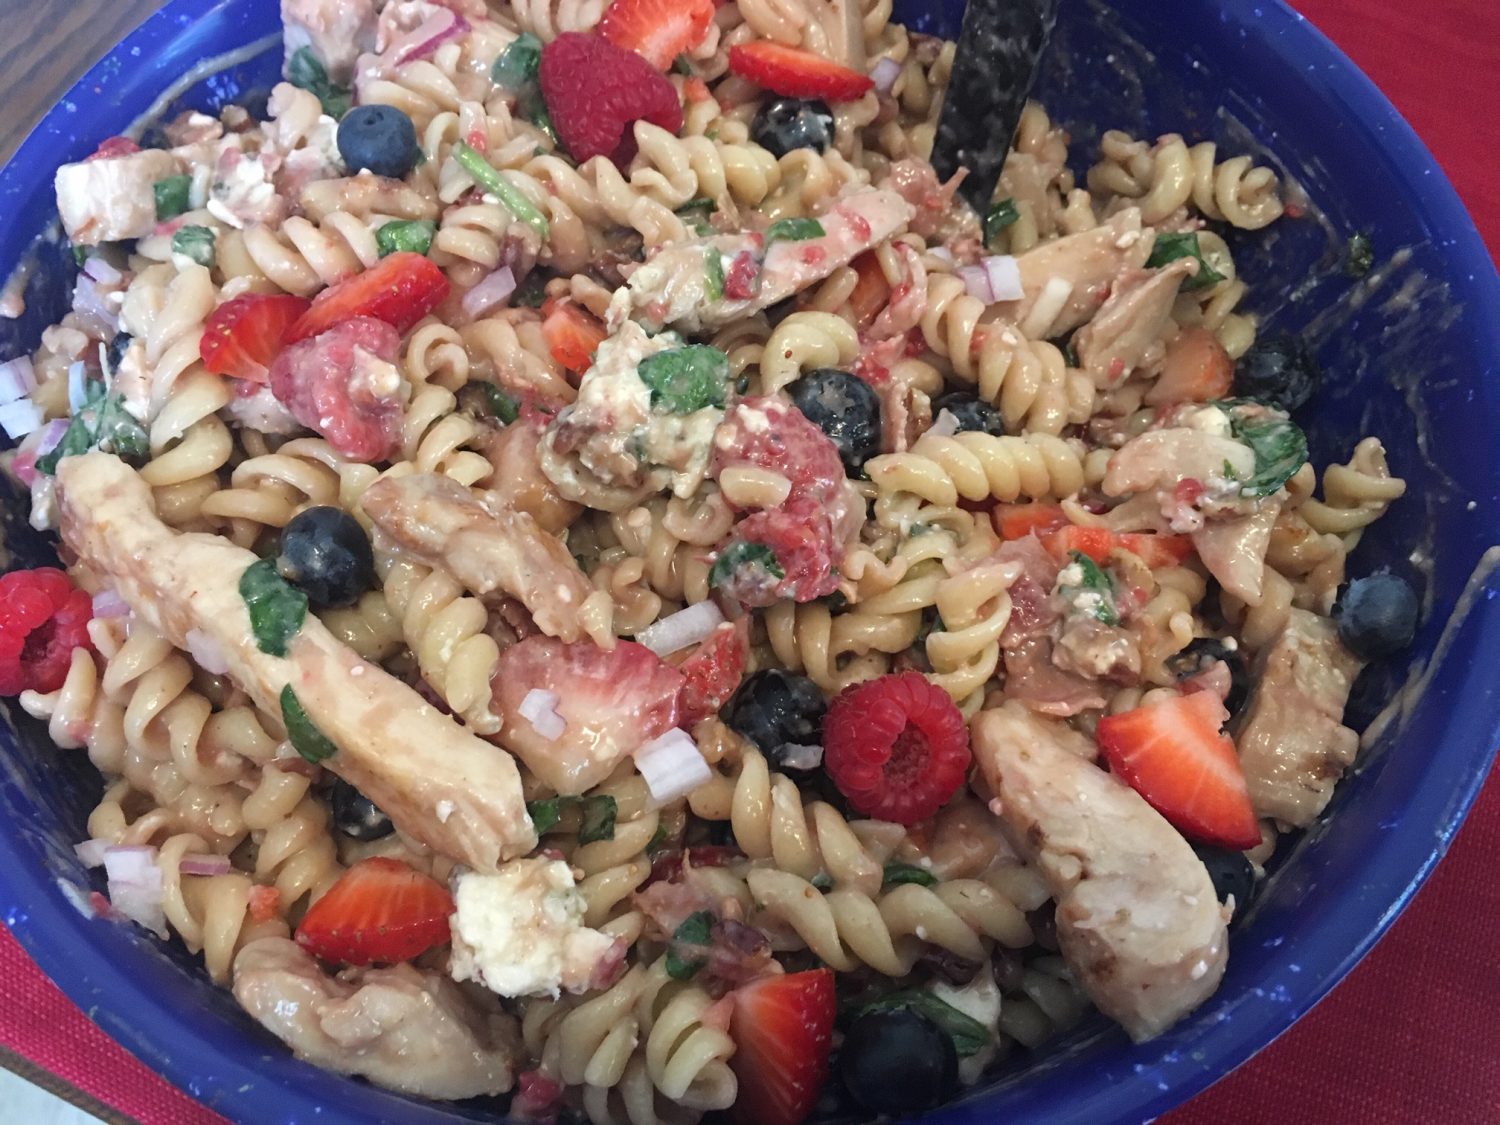
Red White Blue Pasta Salad

Red White Blue Pasta Salad
- Prep Time: 20 min
- Cook Time: 20 min
- Total Time: 40 min
Ingredients
Ingredients For Red White Blue Pasta Salad:
16 ounce rotini pasta
22 ounce grilled chicken
2 cups spinach chopped
2/3 cup blueberries
2/3 raspberries
2/3 cup strawberries, sliced
2 (3.5 ounce) honey roasted pecan pieces
1/4 purple onion, diced
2 ( 5 ounce) blue cheese crumbles
2.1 ounce fully cooked bacon (12 slices)
Ingredients For Strawberry Raspberry Vinaigrette:
1/2 cup fresh strawberries, sliced
1/2 cup raspberries
1 tablespoon minced shallot
1/4 cup balsamic vinegar
2 tablespoons water
1 teaspoon dijon mustard
1 teaspoon honey
1 tablespoon chopped basil
1/2 teaspoon salt
1/4 teaspoon pepper
1/2 cup extra-virgin olive oil
Instructions
Make The Pasta Salad:
Cook the pasta according to package directions; rinse and drain.
Take out a large mixing bowl. While the pasta is cooking on a cutting board you can chop the spinach, grilled chicken, purple onion, and cooked bacon. Then add the chopped spinach, chicken, purple onion and bacon pieces to the large mixing bowl. Cut the strawberries in slices and add to the bowl.
Then add the cooked pasta, blueberries, raspberries, to the large bowl.
Toss half of the Strawberry Raspberry Vinagrette with the pasta. Chill for an hour before serving.
Then add in the remaining dressing and toss to combine. Garnish the top of the salad with blue cheese crumbles and honey roasted pecan pieces.
Make The Strawberry Raspberry Vinaigrette:
Use a blender to blend all ingredients until smooth.
Notes
This summer salad goes fabulous with grilled chicken fresh off the grill. It is what makes it taste the best. You can also make the grilled chicken the night before. If you don’t have the time you can use the frozen pre-cooked grilled chicken found at the grocery stores.
Nutrition
- Serving Size: 10
- Calories: 525
- Sugar: 7.8g
- Sodium: 668mg
- Fat: 31.3g
- Saturated Fat: 6.9g
- Carbohydrates: 38.9g
- Fiber: 0.7g
- Protein: 24.3g
- Cholesterol: 110mg